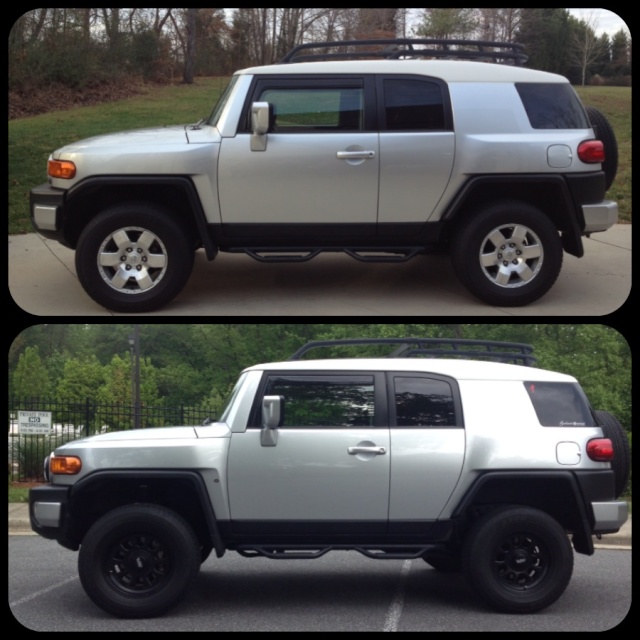
anything to it but adding some step bars ... boy was I cluelessly mistaken in
2007 FJ Cruiser
Titanium - 16,059 miles on the odometer - November 2012
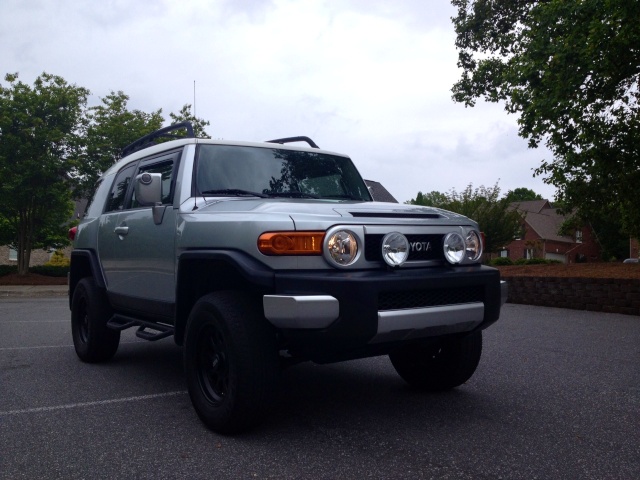
The day I brought her home

A trip to Hilton Head a couple weeks later

After the trip to Hilton Head with in-laws and 80 year old grandparents, it was
clear to my wife and I that we needed the predator style step bars. My wife is
currently 7 months pregnant and then just 2 months but we knew she'd need all
the help she could get getting in and out later on down the road. She's using
them like clockwork now. I decided on the predator rails instead of rock rails
because I don't ever intend to do any serious wheeling like tackling Daniel at
URE!

My next job was to tackle the factory front rake so I went the route of
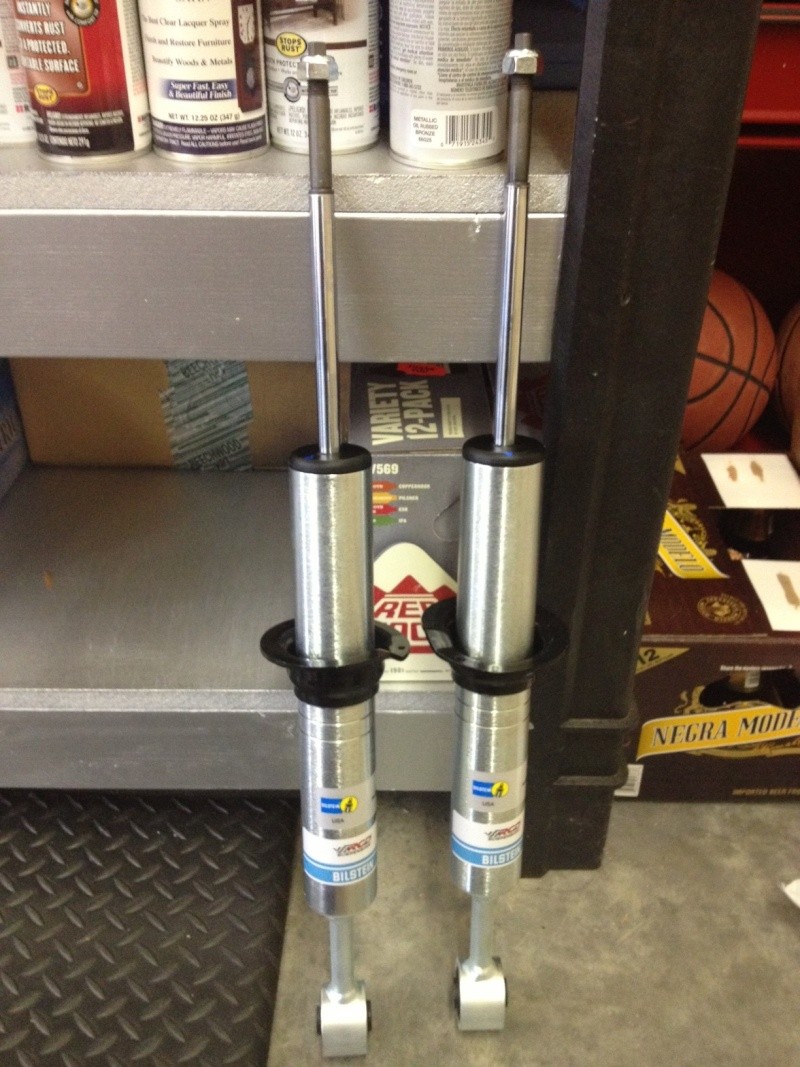
installing the Bilstein 5100's on the front and setting them on the 3rd notch.
Thanks to Speedrye's help and expertise with installing these. After that day,
he and I are 5100 pros! We turned that day into an NCFJ wrenching day at his
house and had a lot of FJer's show up. It was a good time!
5100's ready to go on
Before & After

The front measured at 34.5" ground to fender before install and the rear
measured 36". After install and setting on the 3rd notch, all four
measurements are at 36" ground to fender.
Another thing we did at Ryan's house was the good ol' interior dome light LED
conversion. If you haven't done this, do it! This is probably my most favorite
mod!
The shekinah glory!

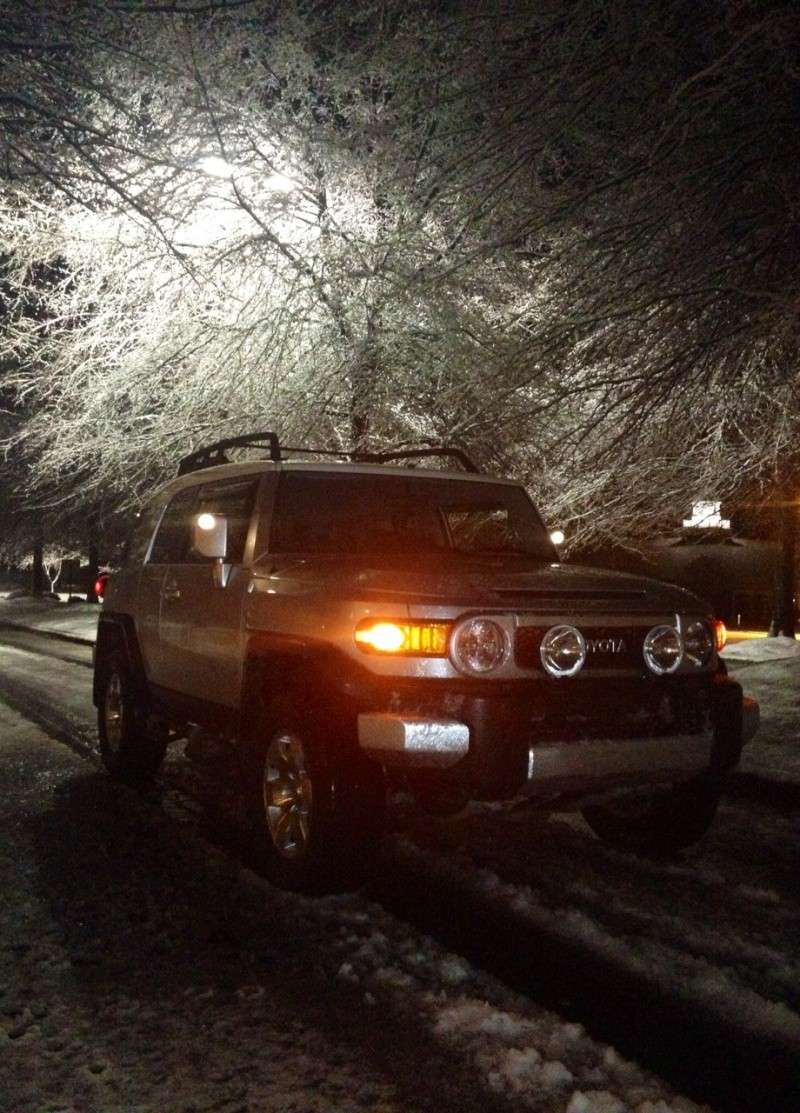
Later on that weekend I installed Hella 700's with 100w bulbs. This was a fun
install, seriously. You can click this link
HERE to see my writeup on wiring the lights.
THIS WRITEUP on installing the lights on your front bumper is exactly what I followed to install mine. I installed a
SWITCH on the interior switch panel that took a
little trimming here and there to get the switch to fit in but once
finished it fit perfectly. Removing all the panels and console was pretty easy.
The switch
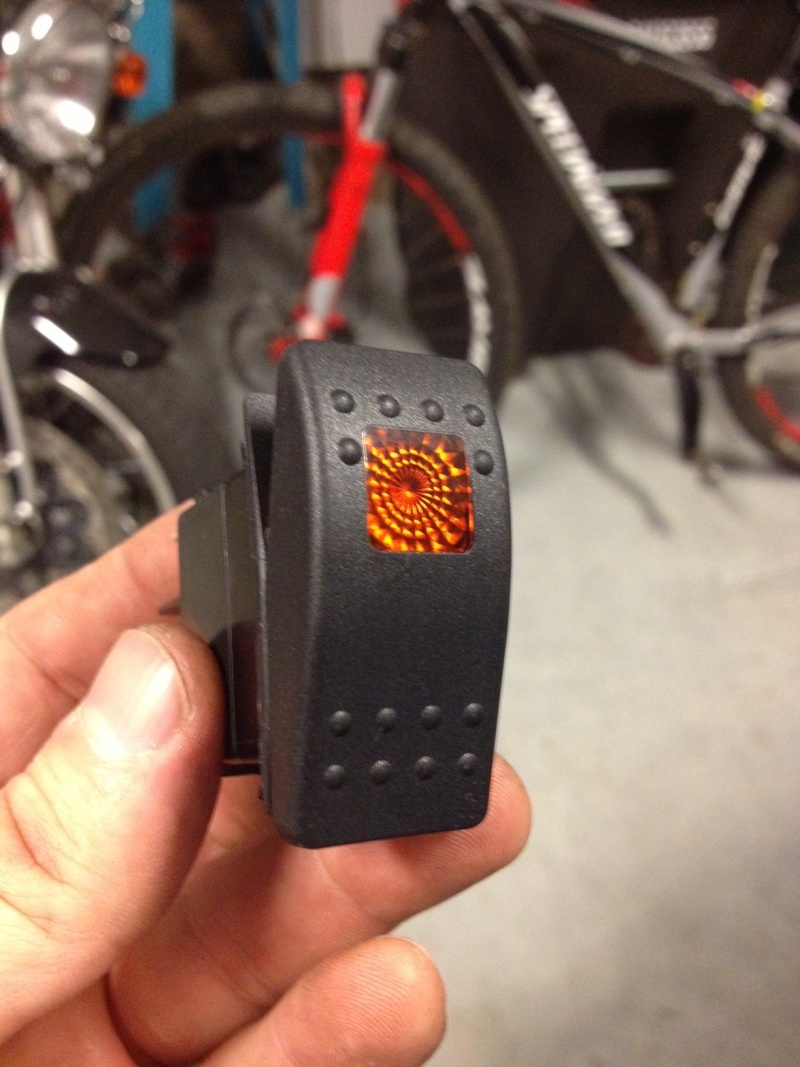
A little trimming to make it fit

Panel finished

Install complete
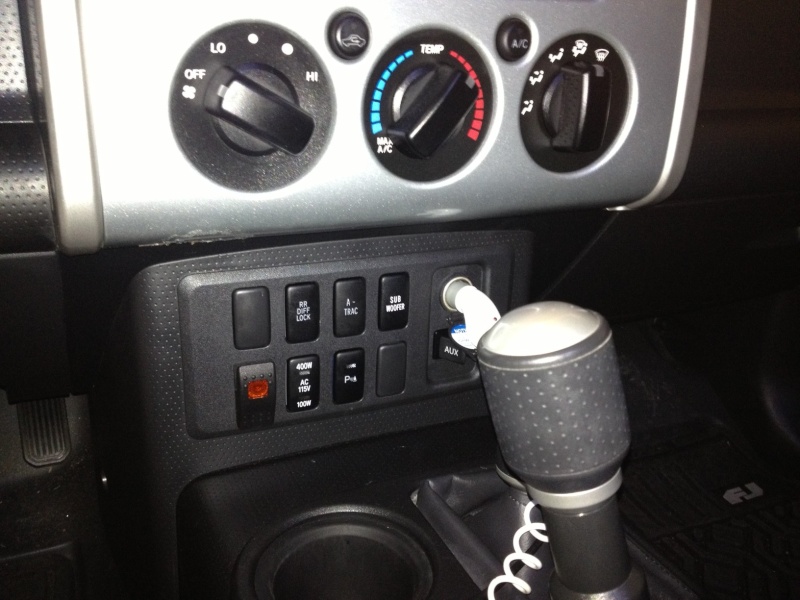
... and we can't forget the lights!

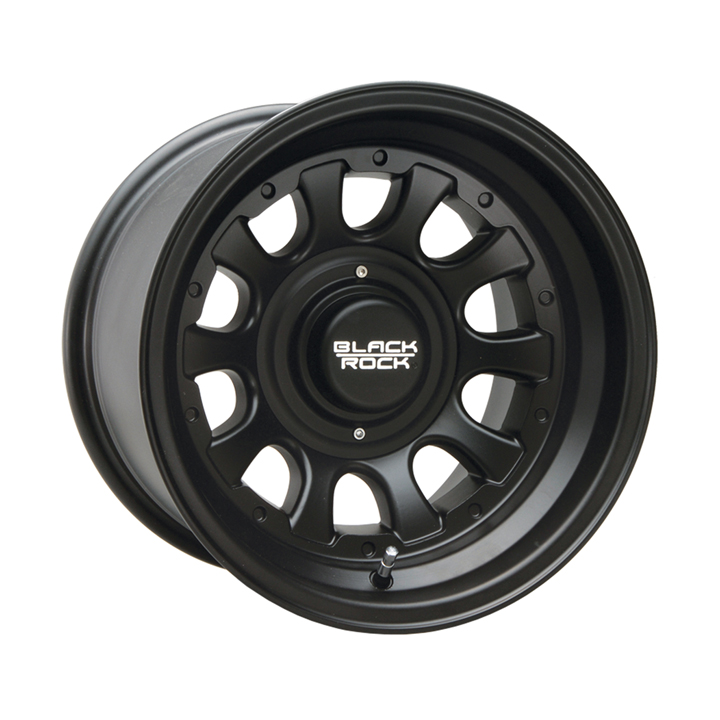
Next I was able to pick up some amazing wheels from NCFJ's very own Sun Cruiser 6(Jami). These are 17x8 Black Rock wheels with a 0 offset. They looked so awesome on Jami's truck. Thanks Jami for these wheels! I love them!
Mounted and installed! This picture was taken at the 2013 NCFJ Spring Meet

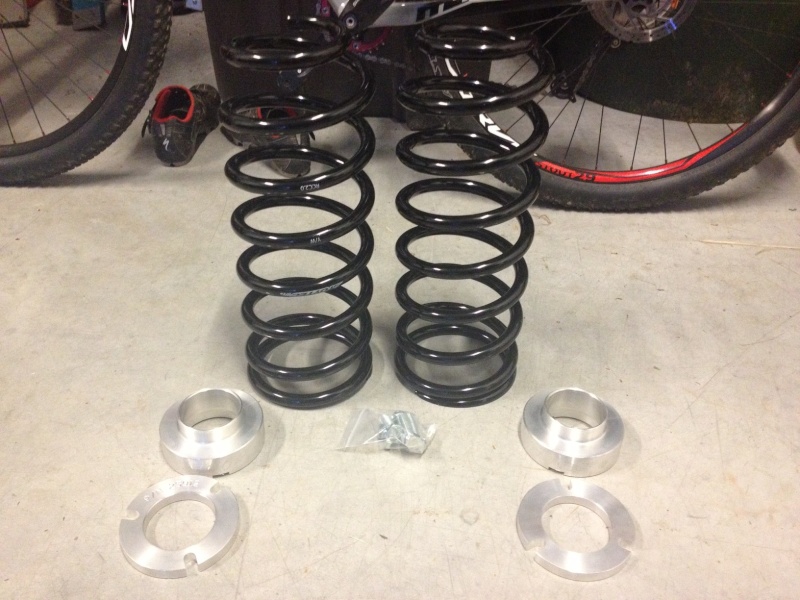
At the show I was able to pickup the 3" Toytec lift kit. Since I already have the 5100's I plan on setting them on the 4th notch and use the 1/2" spacer it comes with on the front to lift the front a little more. The supplied rear springs will lift the rear 2". This is the exact same lift that Jami has on his truck ... and I have always loved his truck! So I'm excited to say the least. I'm not going to need the 2.5" spacers that come with this kit so I was able to send those to my new friend Jeremy in Wilmington for him to be able to use on the front of his FJ to get that nose up!
This is what's next ... Speedrye and I are going to tackle this once we get a chance and an excuse! New rubbers are right around the corner too!
Stay tuned for more updates to come ...
*** UPDATE ***
I tackled the lift yesterday.
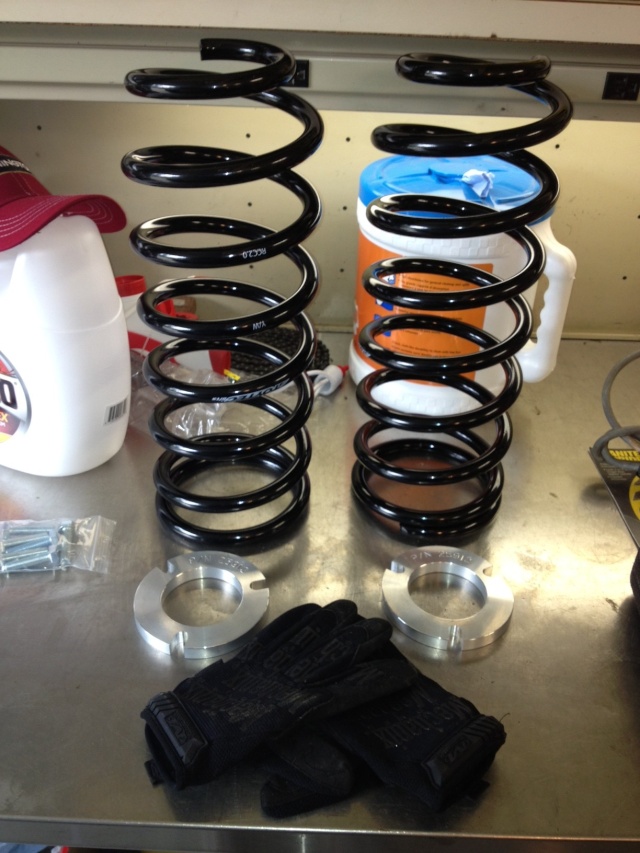
Toytec 2" lift rear springs and 1/2" front spacers
It involved a complete redo of the front suspension. I removed the 5100's and set them on the 4th notch. I also installed the 1/2" spacer on top of the shock.
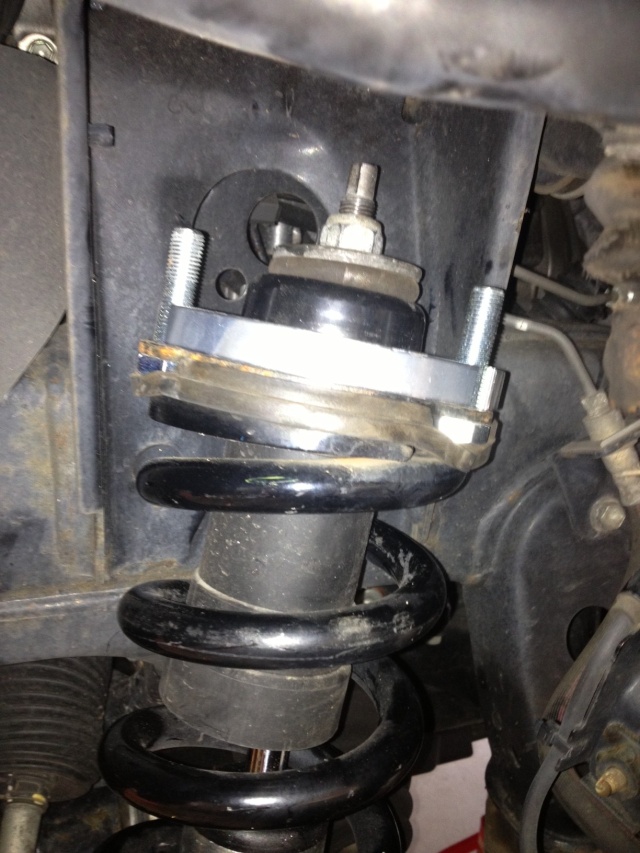
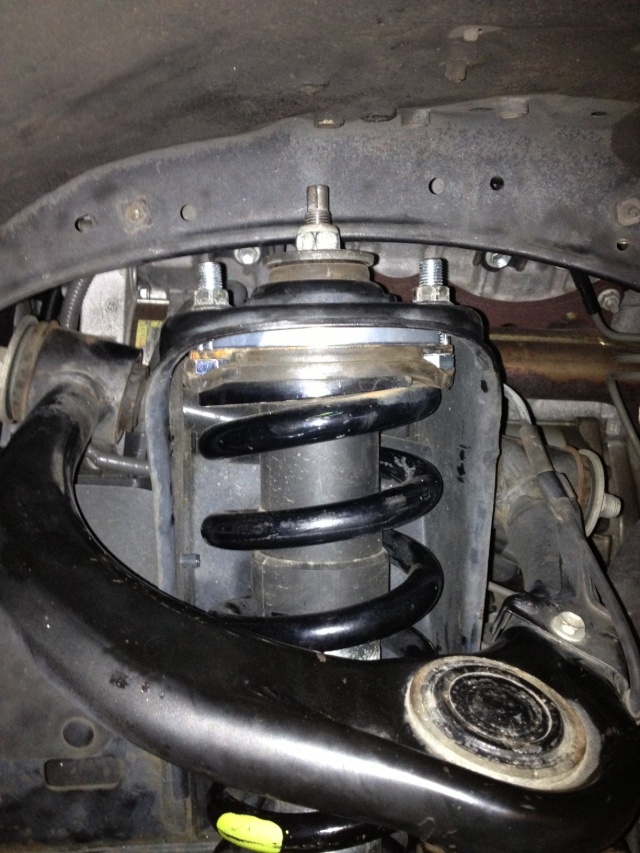
The original bolts on the top plate needed to be removed and replaced with the longer ones supplied by Toytec. Easy switch. The pressure of the spring against the rubber bushing kept them from spinning once in place and they tightened down just fine. I did have to loosen the UCA from the vertical spindle in order to get the shock back in seeing as it is longer now. Easy enough.
Setting the new Toytec 2" springs in the rear was a simple process to0, just time consuming. I followed the article in
FJC MAGAZINE on replacing the OEM springs with the Toytecs. It was right on. Only thing I had to do was use the spring compressor to get the longer Toytec springs in place. Again, nothing to it.
All four sides, ground to fender measured right at 36" before this install. After a 15 mile drive the lift settle out. Both fronts ground to fender measure 38" on the dot. Both rears ground to fender measure 38.25".
Before & After
