I was able to install them today. All in all I was very pleased with how they went in. I am far from being an expert auto mechanic. It took about 4 hours for the entire installation. The tool list on the instructions was sufficient, but I would add a 14mm wrench, rubber mallet, 10mm socket (if you are installing the gas tank skid), and of course a pillow. I learned in the 1st 5 minutes my head and neck would appreciate the pillow. I took several pictures during the install, but I am only posting the pics where the instructions were too vague for a person like me who does not have a lot of experience under an FJ.
Again these are not instructions, but just add-ins where I felt I could have used extra information/help.
I used some simple ramps to lift the FJ up. That combined with my lift/tires I imagine I had 8" of clearance above a stock FJ on the ground.

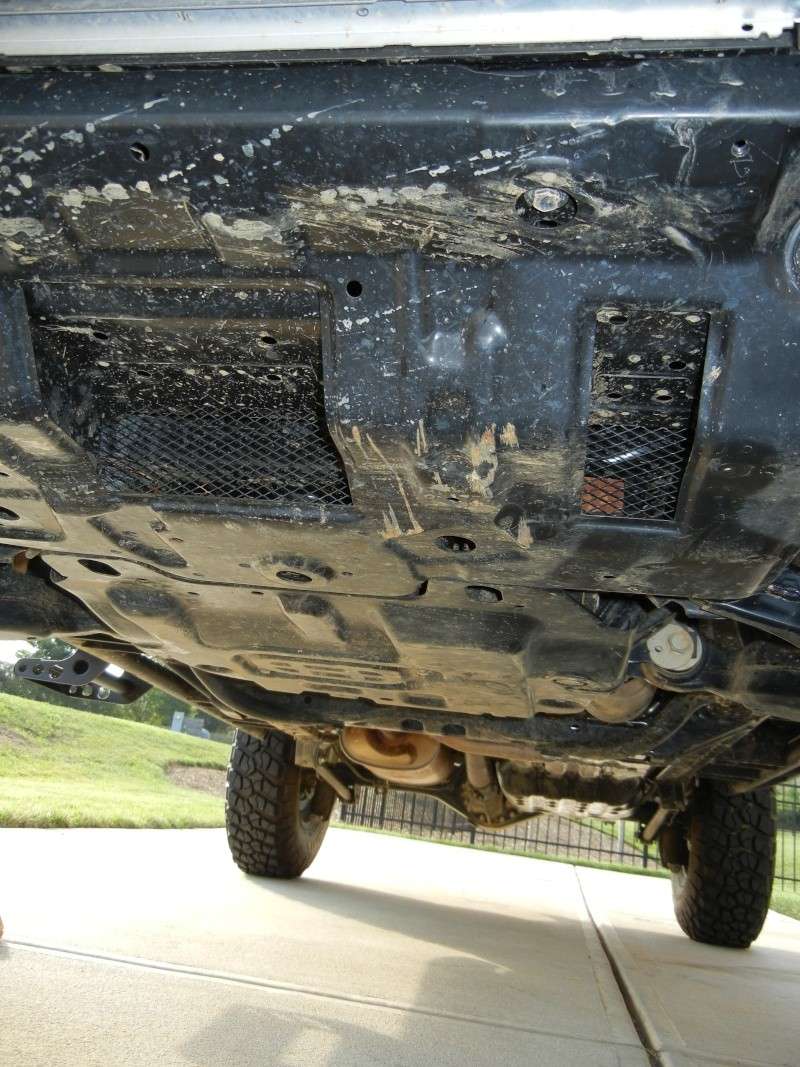
Taking off the stock skids was easy enough.
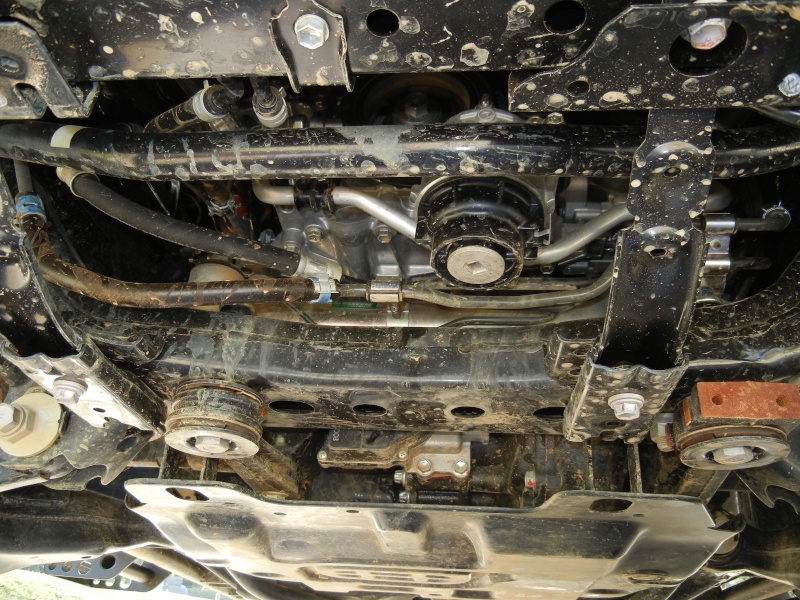
On each side, take out one of the nuts fastened to the interior end of the angle support brace.

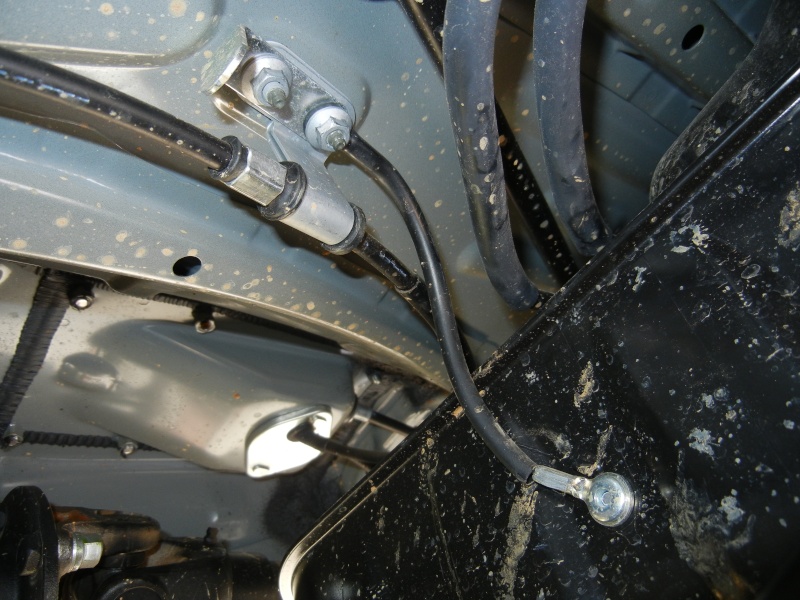
The instructions start with the install here, but my recommendation is to go ahead and remove the stock gas tank skid and grounding wire. (This of course is only if you are adding the gas skid.) It can be removed later, but it would be a whole lot easier to remove before the transmission skid is in place. I found this out the hard way.
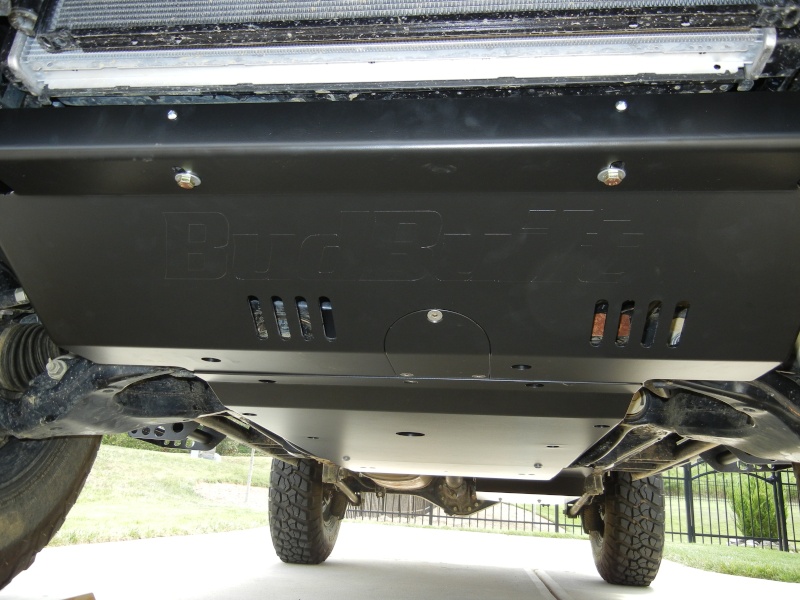
Install the skids. The instructions do not call for this, but I would take out the removable oil filter panel. This way when you are adjusting everything you can line the opening with the oil filter cartridge.

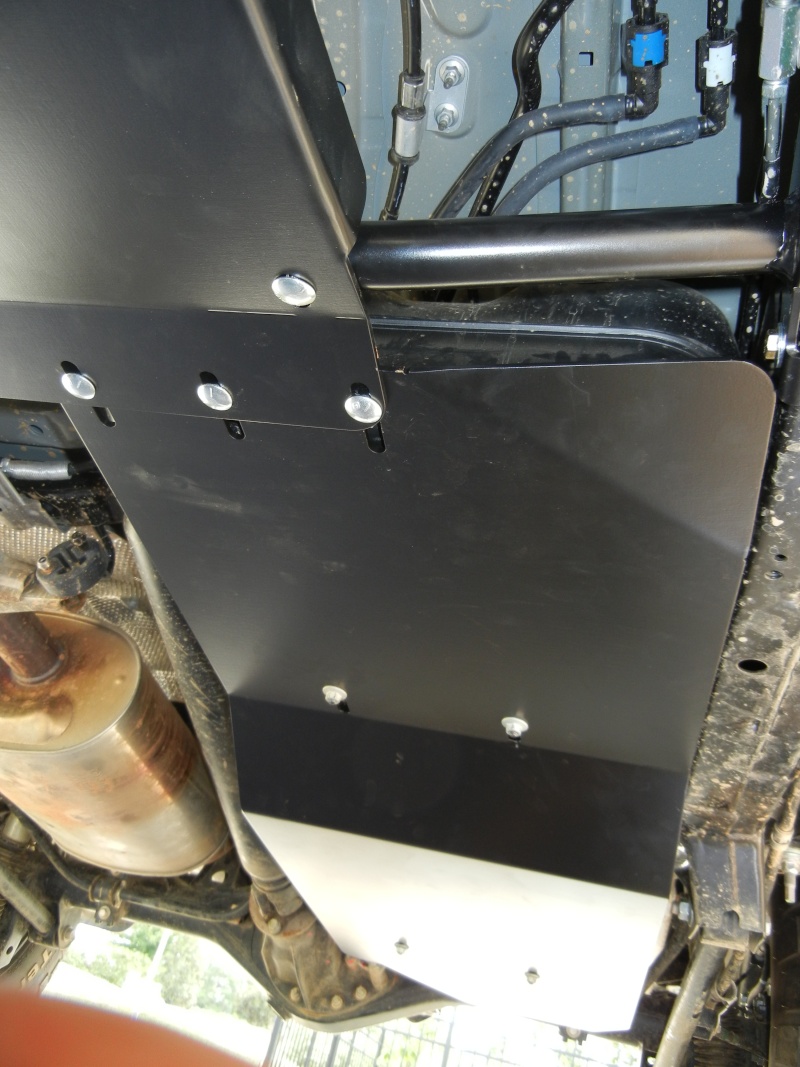
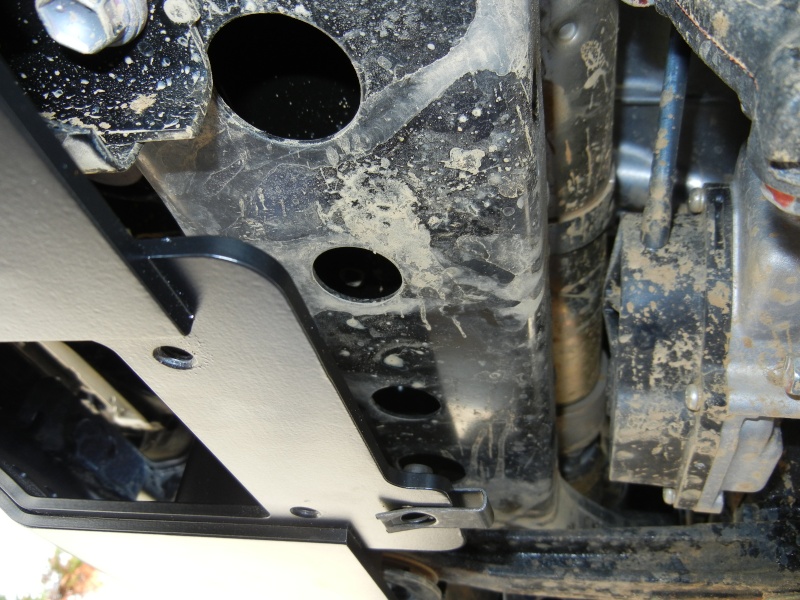
When attaching the mid/engine skid to the front skid the instructions show an older version of the attaching point. This is what it looks like for the 2011.
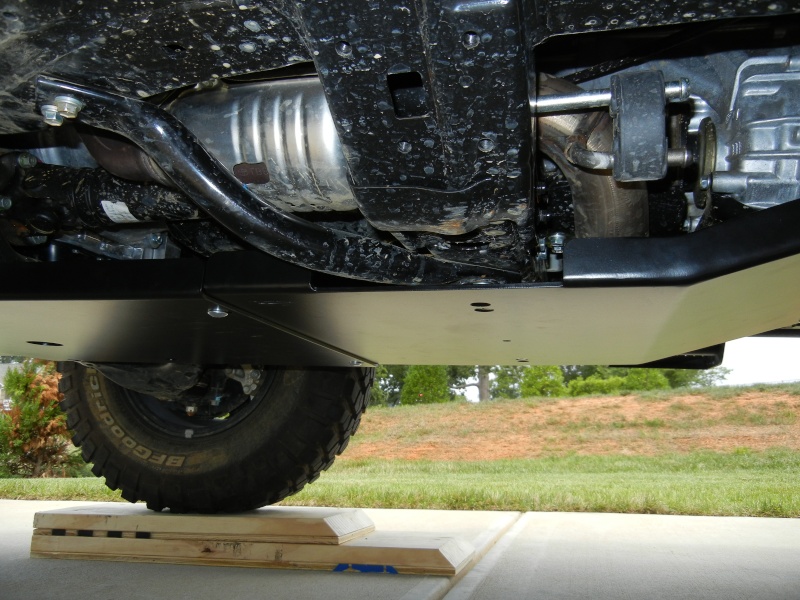
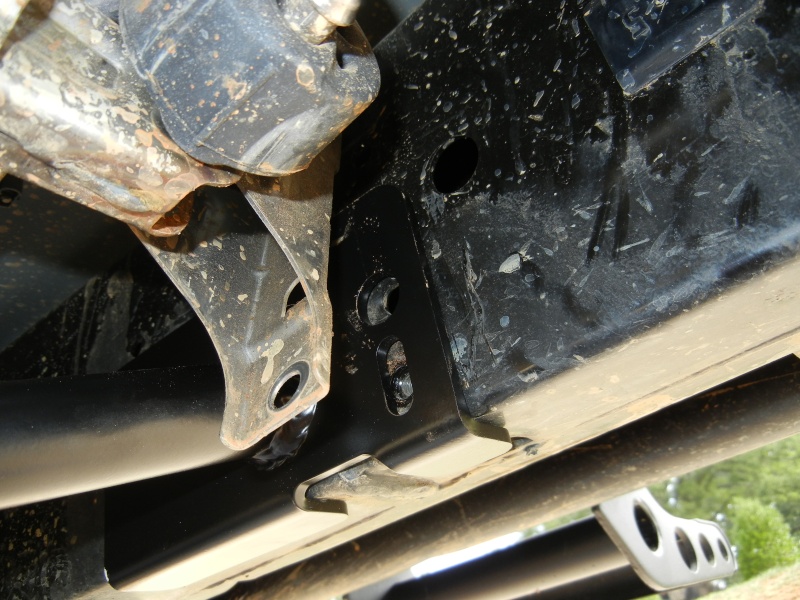
Next step is to install the cross bracing. Instructions are clear except for the exhaust bracket on the passenger side. Remove both bolts. You will use the top bolt again. When reinstalling the exhaust bracket use 2 washers between the bracket and the frame. This is to compensate for the gap created by the new cross bracing.

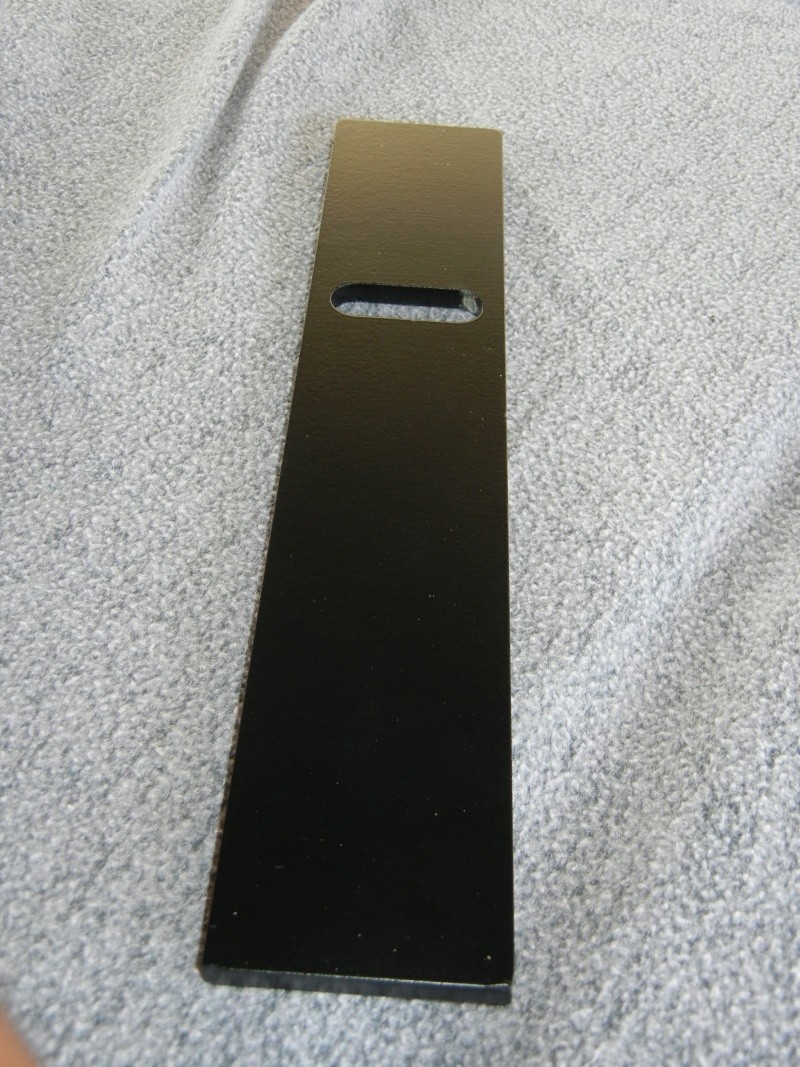
Next is the transmission skid. The instructions use an old picture of a spacer. The new spacers are these.
Install the transmission skid. This is where I needed the 14mm wrench. There wasn't enough space between the rear nut on the passenger side and the exhaust for me to get my socket on it. After final adjusting and fastening the front 3 skids, install the gas skid. The last instructions provided by Budbuilt say, "Tighten all the nuts and go assault the rocks!"
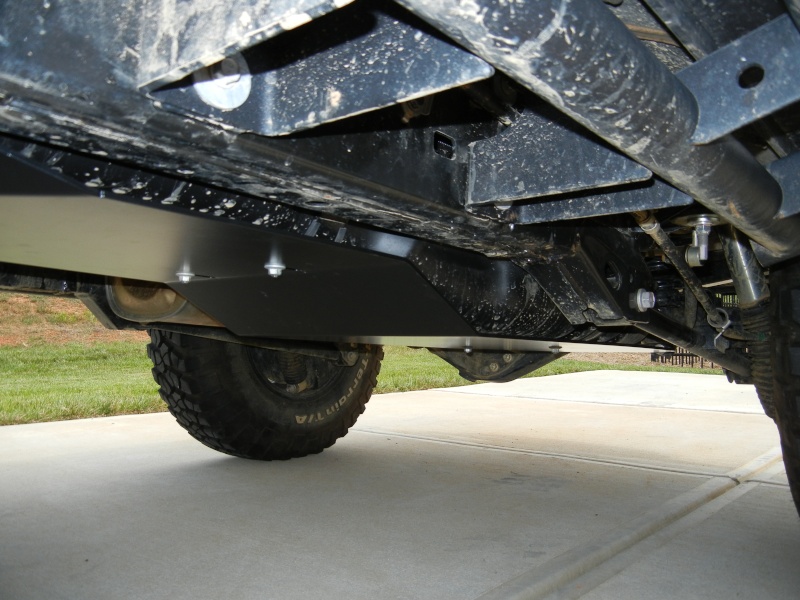
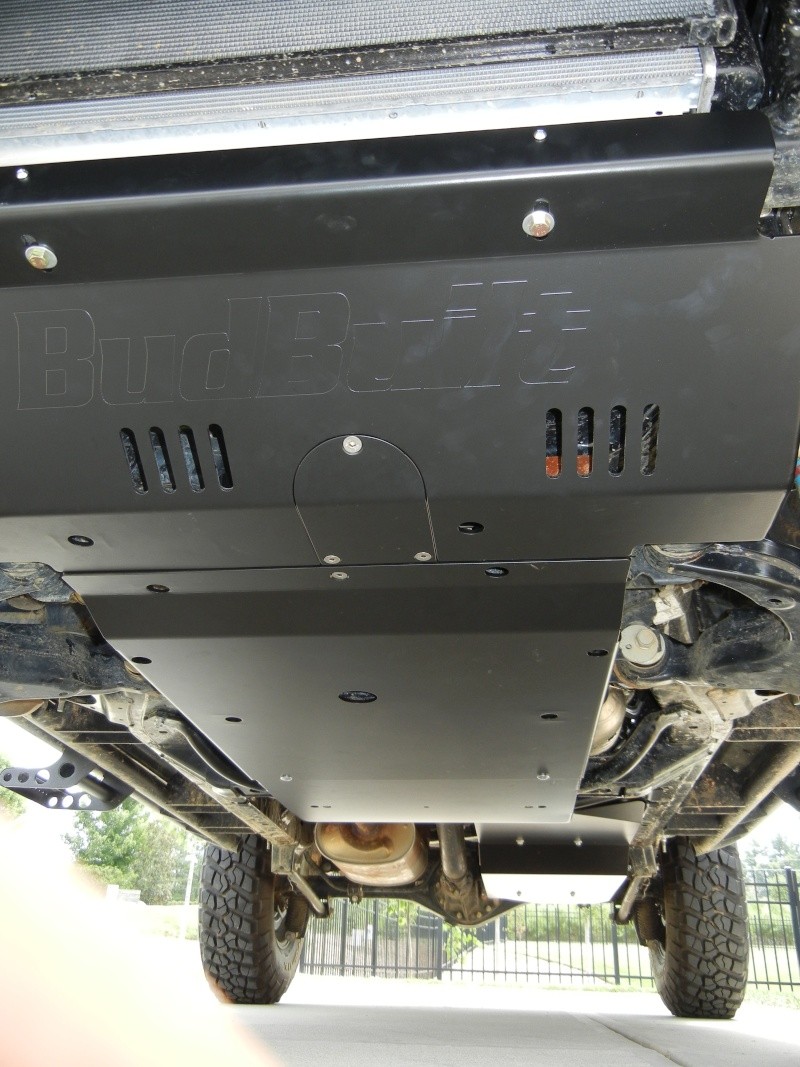
Here are the completed pics. I love how seamless the skids flow to the back. It was a big selling feature for me.